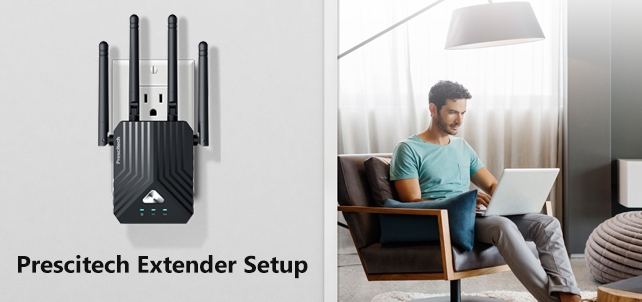
Prescitech E300 Mini wifi range extender is the most used extender manufactured by the company. This device is reliable and affordable without compromising on the quality. Here in this article, we will learn about prescitech extender setup, its led status, its different setup modes (router, extender, and access point). Let’s start with the Prescitech e300 llight status first of all-
E300 Mini Extender Led status
Power or WPS LED
- On- Prescitech is ready for setup
- Blinking- A wps connection is in process
- Off- Not connected to the power
WAN/LAN LED
- Blinking fast- The port is working and sending and recieving signals
- Off- No ethernet connection
LAN LED
- Blinking- The port is in use
- Off- No ethernet connection
WLAN LED 1- LED 3
- On- Internet working
- Blinking- No internet
How to setup prescitech as an extender?
The extender is a device which acts like a bridge between an access point or router and a device that needs internet. First of all you need to plugin the e300 extender into an electrical outlet. Make sure your extender and router are within the range of 5-10 feet for intial setup process.
E300 setup via wps
- Push a wps button on your extender and within two minutes press a wps button on your router.
- In case your router doesn’t have physical wps button then login into your router user interface and enable the wps from there.
- Once the wps will be successful the WLAN LED on your e300 presictech wifi repeater will trun solid.
Prescitech e300 setup via extenderlogin.com
- On your phone or computer connect to the prescitech e300-XXX network name. This name will be showing up in your Wifi list.
- Once connected open a browser like google chrome, firefox, or safari and in the url type http://extenderlogin.com.
- In case the url extenderlogin.com isn’t working for you then use 192.168.10.1 instead.
- It will take you to the e300 setup page. You will have to create an admin password.
- Now click on wizard option and choose the wifi network name that you would like to enhance. Also type the password for the same network.
- It will take approx 60 seconds for the extender to save the settings and after that it will reboot. You can now unplug it and place it at the location where you need wifi.
How to setup e300 precitech wifi range extender as an access point?
- To start with access point setup you will have to connect an ethernet cable from your router to the WAN/LAN port on extender. Now switch the mode to access point given on the side of your extender.
- Grab your phone or computer, go to wifi manager and connect your device to e300 network.
- Dont mind if it says “no internet available”. Once connected open a browser and type http://extenderlogin.com.
- Set your own password for the admin login.
- Customise your network name and password as per your liking. Click on “apply”.
- It will take around half a minute to reboot the e300 presitech ap. Once done use the password to connect your devices to e300 access point.
How to setup e300 precitech as router?
For this setup you have to shift the mode button to router given on the side of the extender. Now connect the ethernet cable coming from your modem or ISP directly into the WAN/LAN port of your prescitech device. Once the power led goes stable we can start with the setup process.
- Now connect your device to the e300 network name showing up in your wifi list.
- Open a browser on your device and type http://extenderlogin.com in the url. It will take you to the prescitech setup page.
- Click on wizard and create an SSID and password for your network. Also select one of the security type for your network.
- Hit on “apply”, it will now take around half a minute for the device to save settings.
- Once completed unplug it and place it at the location where you need internet.
Also Read:
Whew Wi-Fi Extender setup troubleshooting review
What is Netgear extender IP address after setup?
Netgear wifi extender device light not on
I bought a new router, but now my Netgear WiFi extender is not work
Netgear Extender Not Working